


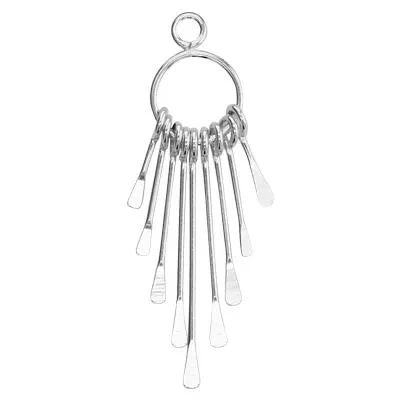
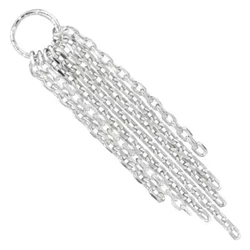
Sterling Silver Sunburst Tassel
S6512
Sterling Silver 7.5x28mm Paddle Wire Sunburst Tassels, 1.5mm Closed Ring ID
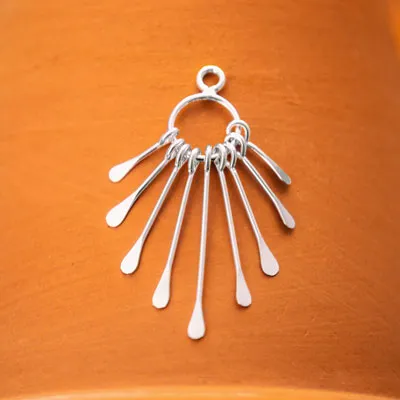
Sterling Silver Sunburst Tassel
S6512
Sterling Silver 7.5x28mm Paddle Wire Sunburst Tassels, 1.5mm Closed Ring ID
Total:

Loading Pricing...
Specs
| Material | Sterling Silver |
| Recycled Detail | 30% Pre-Consumer Recycled Silver |
| Nation of Origin | India |
| Finish | Bright |
| Manufacturing Method | Other or Multiple |
| Anti Tarnish | Yes |
| Tariff | 7113.11.5000 |
| Gram Weight | 0.600102 |
Description
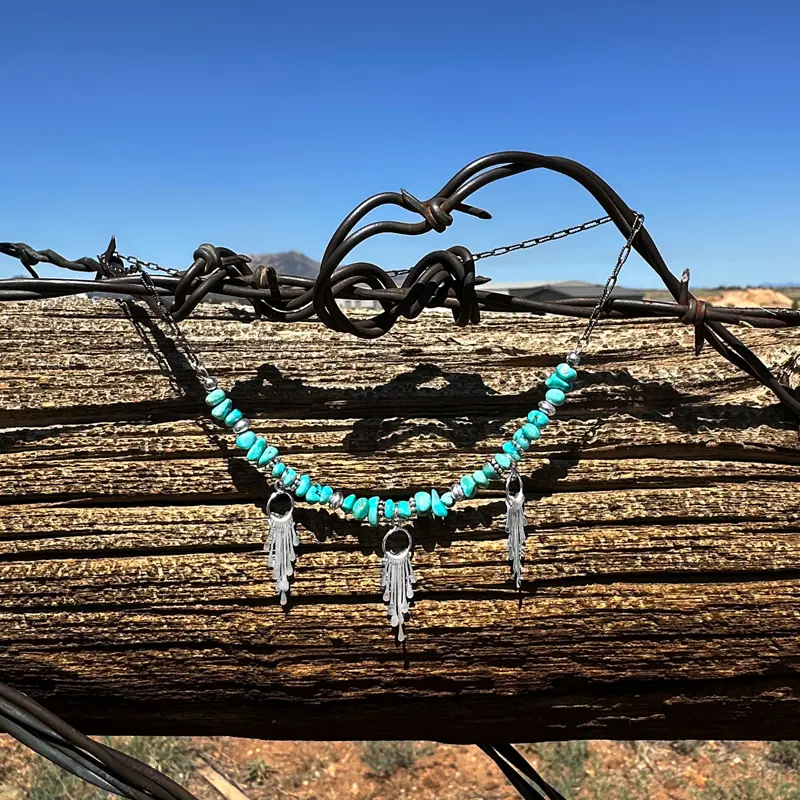
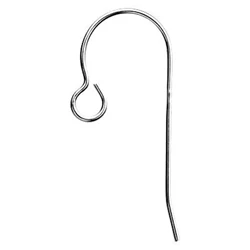
This sterling silver paddle wire sunburst tassel is such a fun component! It can be either boho or Southwestern depending on how you style your designs. Attach an earwire for a quick and easy earring that packs a punch. Or add it as a focal point to a pendant with a stone on top. Add S6512 to spice up your jewelry designs.
Shop our entire selection of sterling silver charms here.
Detailed Specs
| Charm Theme | Decorative |
| Charm Size | 21mm+ |
| Charm Connection | Fixed Loop |
Media
Other Options in This Style

Compatible With
×
![]()
