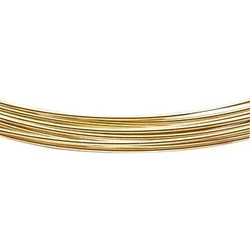
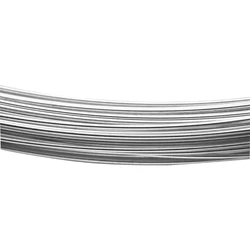
Sterling Silver 10 feet 22 gauge Half Hard Wire
SW22H-10
Sterling Silver 10 feet 22 gauge Half Hard Wire
SW22H-10

Loading Pricing...
Specs
| Material | Sterling Silver |
| Recycled Detail | 100% Post-Consumer Recycled Silver |
| Nation of Origin | United States |
| Finish | Bright |
| Manufacturing Method | Machine Made |
| Anti Tarnish | No |
| Tariff | 7113.11.5000 |
| Gram Weight | 9.999889 |
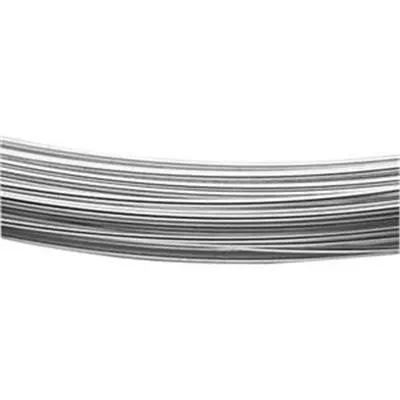
Sterling silver wire is a popular material for silver wire wrapping due to its malleability, strength, and beautiful shiny color. It is an alloy composed of 92.5% silver and 7.5% copper, which gives the silver added durability and strength. Sterling silver wire is available in a range of gauges and tempers, allowing you to choose the right wire for your project.
What is sterling silver wire used for?
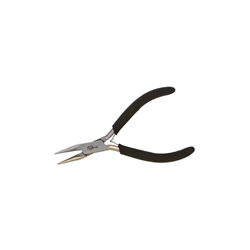
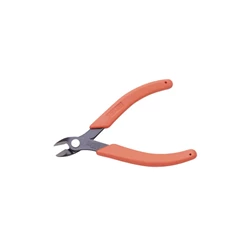
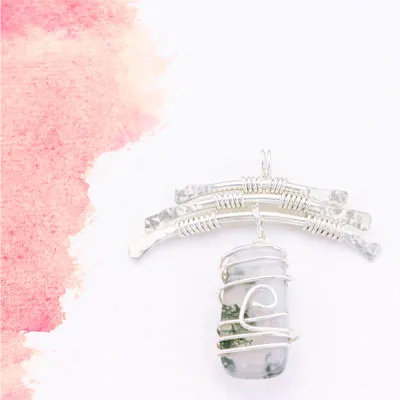
Sterling silver wire is used for a variety of jewelry-making techniques, including wire wrapping, chain making, chain maille, and creating custom jewelry findings. It can be used to make headpins, eye pins, jump rings, and clasps, as well as for riveting cold connections. You may also be interested in our jewelry making tools section for pliers, mandrels and more.
Does sterling silver wire tarnish?
One thing to keep in mind when working with sterling silver wire is that it can tarnish over time. Tarnish is a chemical reaction that occurs when the copper in the alloy reacts with common chemicals in the air and water like sulfuric gases, salt, and chlorine. Even substances like sweat, soaps, and detergents contain these compounds. To prevent tarnish, it is important to store sterling silver in a sealed container and to clean it regularly.
How much sterling silver wire do you need?
Just buy what you need! Our wire coils measured by length allow you to buy smaller quantities of the sterling silver wire you need for wire wrapping or jewelry making projects. Offered in a variety of gauges and tempers, the SW 10ft Series allows you to experiment with different wires and get just what you need for smaller projects or production runs. Made from 100% post-consumer recycled silver material. Sustainable silver raw material for your jewelry collection.
How do you choose the right gauge and temper of silver wire?
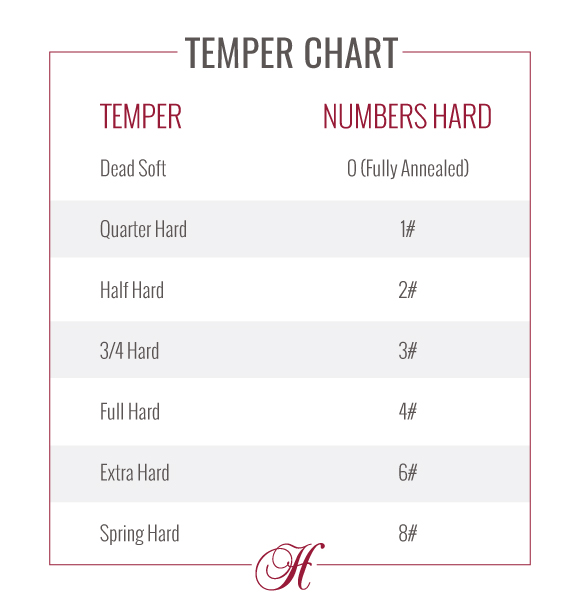
When choosing sterling silver wire, it is important to consider the gauge and temper of the wire. The gauge refers to the thickness of the wire, with higher gauge numbers indicating thinner wire. For example, the standard gauge of sterling silver wire for making earrings is 20 gauge. The temper of the wire refers to its stiffness, with dead soft wire being extremely malleable and half hard wire being stiffer to hold its shape more securely once formed.
Shop gold filled wire and 14k gold wire separately.
| Wire | |
| Wire Shape Or Type | Round |
| Wire Gauge | 22 gauge |
| Wire Temper Hardness | Half Hard |

Other Options in This Style