


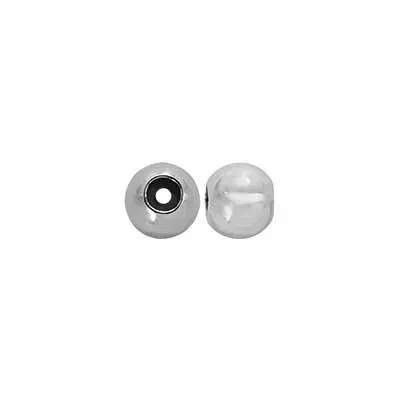
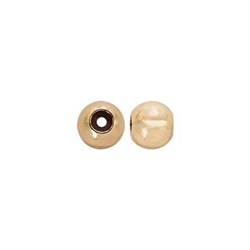
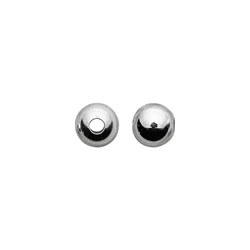
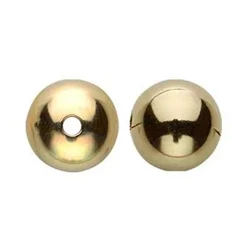
Sterling Silver 3mm Stopper Bead
SM3L
Sterling Silver 3mm Silicone Lined Stopper Bead, 1.2mm Hole. White plastic core provides stopper function.
Sterling Silver 3mm Stopper Bead
SM3L
Sterling Silver 3mm Silicone Lined Stopper Bead, 1.2mm Hole. White plastic core provides stopper function.
Total:

Loading Pricing...
Specs
| Material | Sterling Silver |
| Recycled Detail | 90% Pre Consumer / 10% Post Consumer Recycled |
| Nation of Origin | United States |
| Finish | Bright |
| Manufacturing Method | Machine Made |
| Anti Tarnish | No |
| Tariff | 7113.11.2000 |
| Gram Weight | 0.045812 |
Description
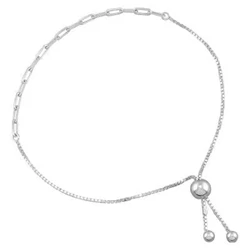
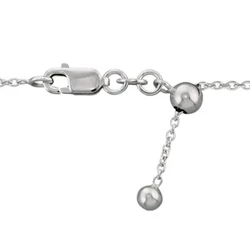
Show Stoppers! Stop shifting beads in their tracks. Silicone lined stopper beads will help hold other beads in place. You can also design illusion necklaces with these stopper beads on either side of a regular bead on a slim wire or silver chain. Place one on either side of the bead on your chain to restrict any movement. These beautiful bright sterling silver rounds will look great on your next necklace.
Shop all beading supplies here.
Shop all beading supplies here.
Detailed Specs
| Beads | |
| Bead Shape | Round |
| Hole Size | 1.1mm - 1.5mm |
| Size MM | 3mm |
| Size SML | Extra Small |
Media
Other Options in This Style
Compatible With
×
![]()
