


A step-by-step beginner's guide on how to make cuff bracelets.
Making cuff bracelets is a great project for budding metalsmiths. Cuff bracelet fabricating allows you to use basic skills in several areas such as forming, annealing, stamping, texturing and finishing. Cuffs do not have to be sized too precisely so this is a great beginner project. We have inexpensive copper cuff blanks or brass cuff blanks to help you get started.
Step-by-step Instructions
1. Blank prep
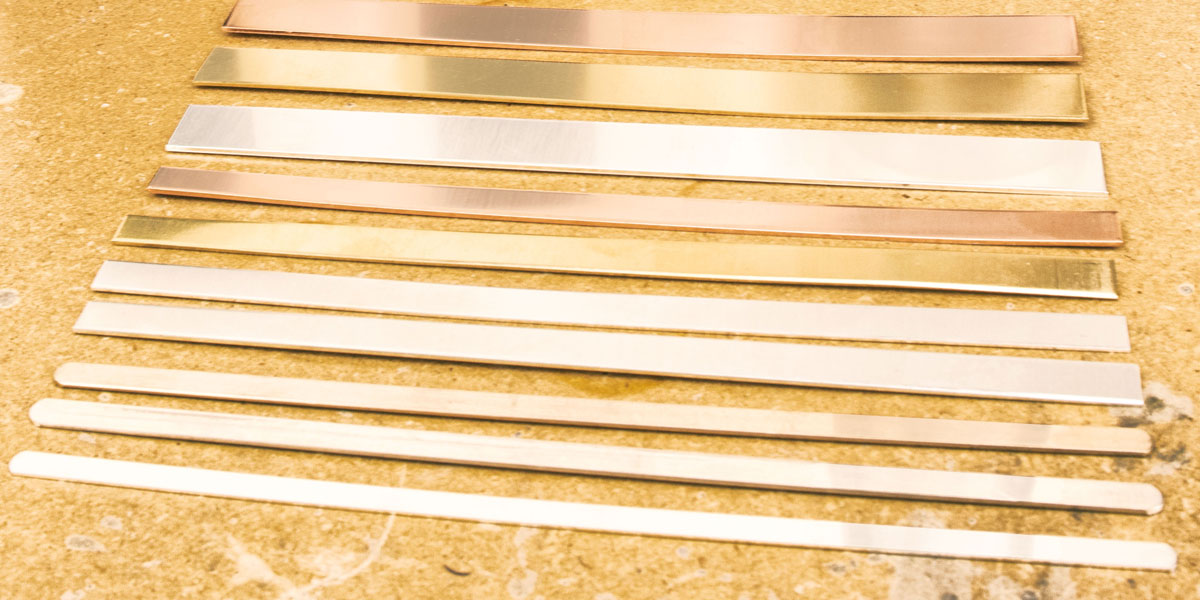
Cuffs need to stand up to a fair amount of wear and tear on the wrist while holding their distinctive c-shape. They should be made of 22 gauge metal or heavier. Most cuffs are either 20 gauge or 18 gauge. We recommend using cuff bracelet blanks to avoid a lot of sawing or purchasing an expensive guillotine shear. But if you have a guillotine already, you can cut your own brass sheet, copper sheet, or sterling silver sheet. Most cuffs are made from metal of varying widths that are about 6 inches long. You may want to shorten the 6 inches down to 5.5 to accommodate smaller wrists.
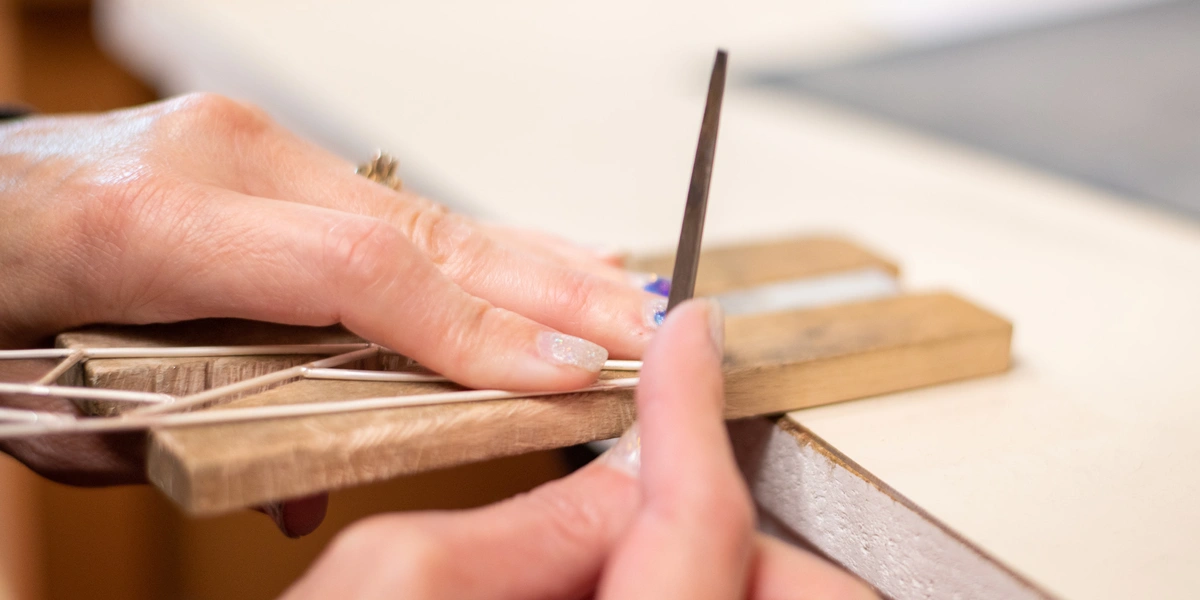
2. Filing & sanding
If it's not already, you'll want to round out the corners of your cuff blank. Use shears or a jewelers saw to create a rounded edge that will be comfortable on the wrist. Then use files and sandpaper to smooth the edges and remove burrs. Also, sand out any surface scratches on your metal at this time.
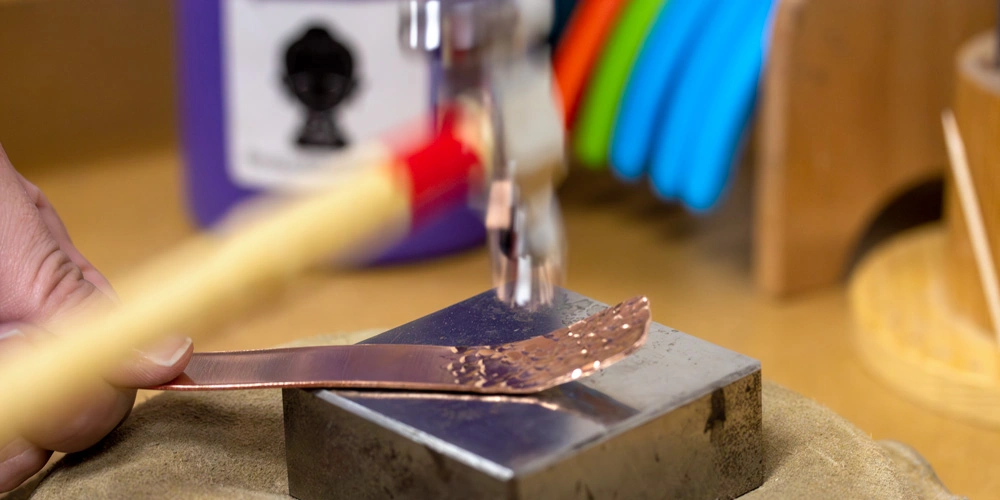
3. Add texture or stamping
You should use your texture hammers or design stamps while your cuff blank is still flat.
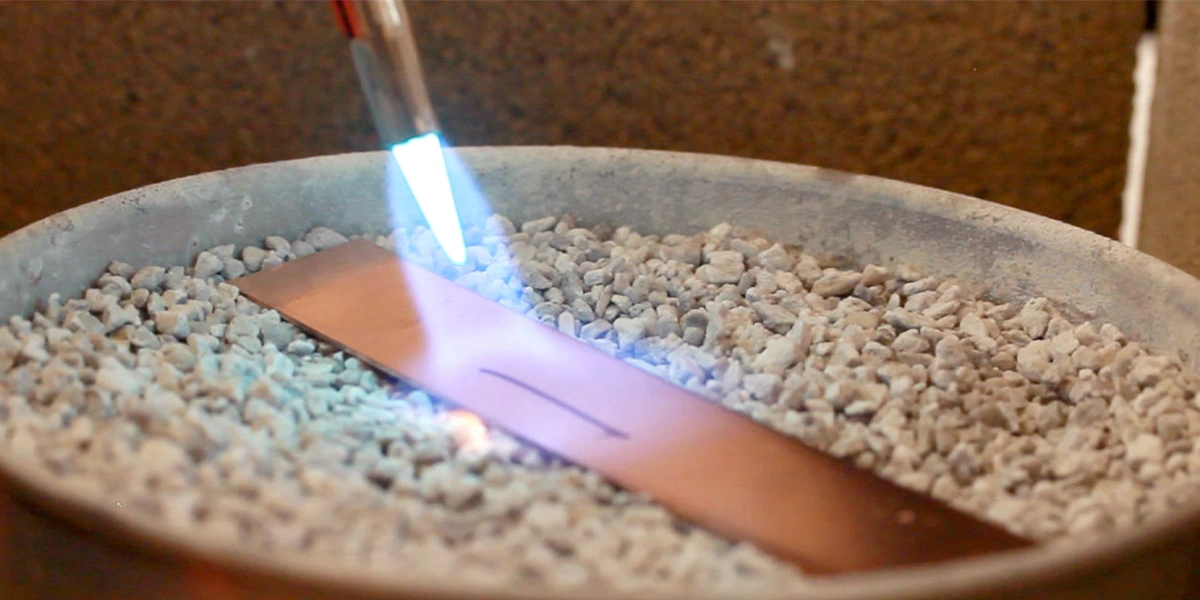
4. Anneal
After texturing and stamping, your blank will be work-hardened so it will be too stiff to form. Anneal your piece to soften the metal but be careful not to over-heat. Quench and pickle after.
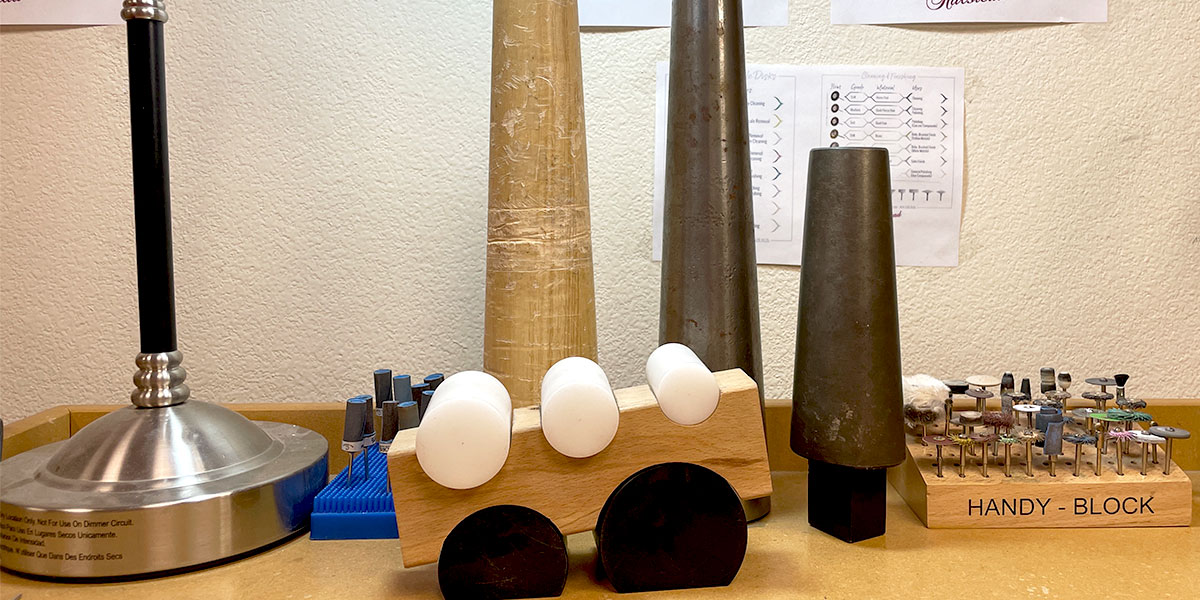
5. Form your metal
You are now ready to bend your cuff into a bracelet shape. You have a few options to help you form the cuff. A cuff mandrel will help give your metal the distinct "C" shape. A bracelet bending block won't require a hammer. Round bracelet mandrels may also come in handy for creating the curve. With thinner gauge metals you may be able to bend the blank by hand or with a pair of bending pliers. If forming hardens your metal you may need to anneal again during this stage.
6. Polish
Polish your cuff using your favorite method (polishing compound, radial disks, etc) to bring the cuff to your desired finish.
Embellishing a Cuff Blank
Once you've mastered the basics of making a cuff bracelet, try adding embellishments to it! Tube settings and Loose CZs are an easy way to add sparkle to the cuff. Solder ornaments are also a fun way to add dimension and personalized embellishments. You can add the embellishments before or after forming your cuff, but we generally find it easier to do after forming. Once your cuff is formed, polish it so you won't have as much cleanup after soldering on the embellishments. Once they're soldered on, pickle and polish again. If you're setting CZs, that will be the last thing you want to.
Using Pre-Made Jewelry Findings For Embellishment
Solder ornaments are the easiest way to add embellishments to your cuff, but they're not the only way. If there's a particular charm you love, it can also be added to the cuff! Follow these steps to embellish your cuff with a charm.
Prepping the Findings
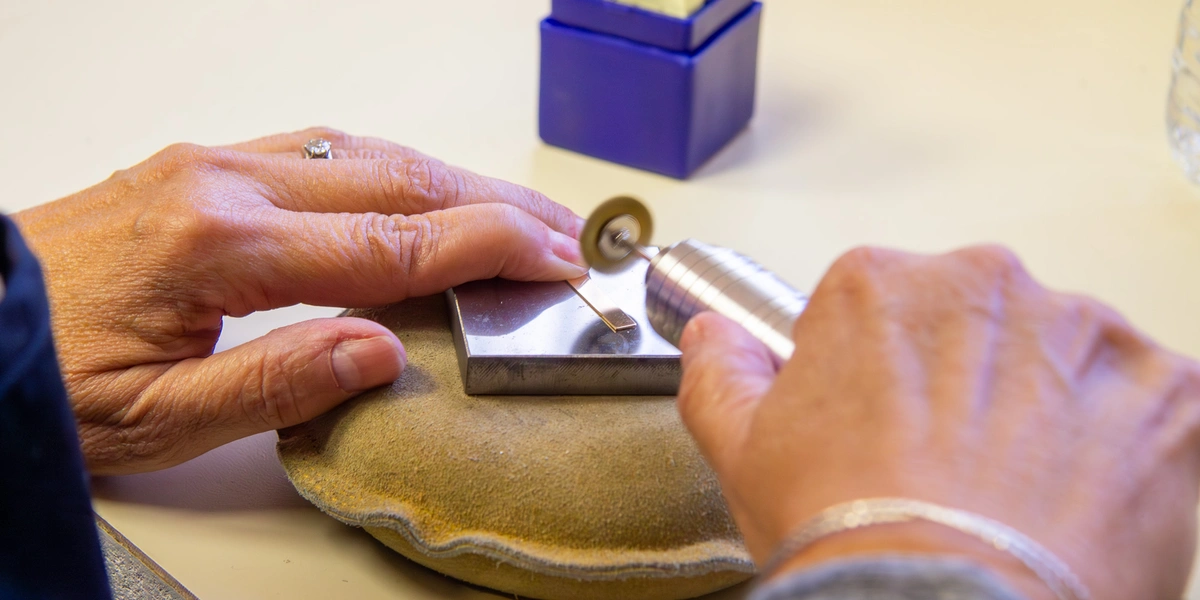
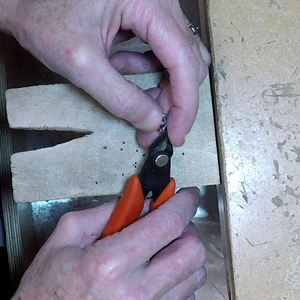
If you're using a charm, use wire cutters to snip off any attached rings. If you're using a link, use wire cutters or sheet shears to cut off any attached rings or holes. Use a file to smooth down the area. If you choose to solder the embellishments on after forming, you will need to shape any larger ones so they lay flat before soldering.
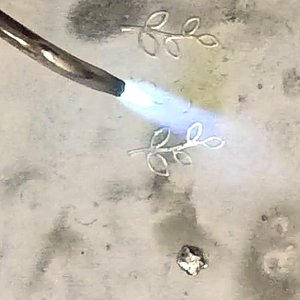
Sweat Soldering Embellishments to Cuff Blanks
Step 1:
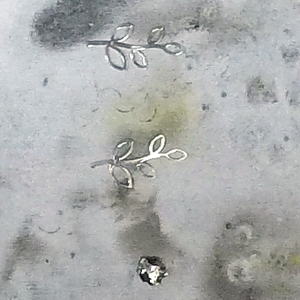
Place your solder ornament, charm, or link upside down on your soldering board and add flux to each one.
Step 2:
Place silver solder chips on all of the components.

Step 3:
Heat one component at a time, removing heat as soon as the solder melts but has not flowed yet.
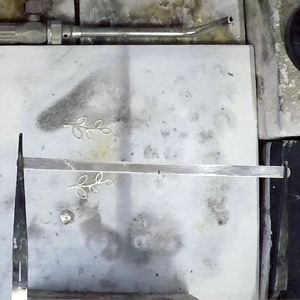
Note: Pickle, quench & dry (if dirty)
Step 4:
Flux the cuff. Use a tripod or third hands to suspend your cuff.
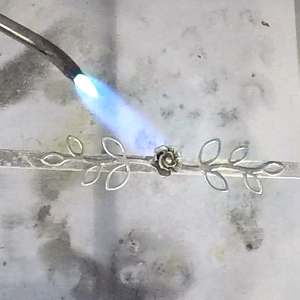
Step 5:
Place pre-made jewelry findings on cuff blank soldered side down and heat from underneath. This will help protect your embellishments from overheating - especially small ones. Quench, pickle, and dry.
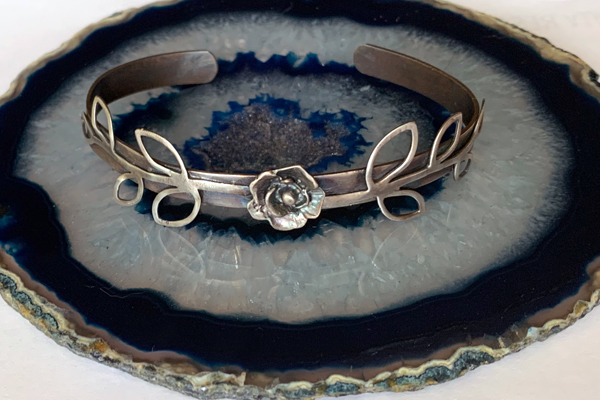
Step 6:
Use finishing tools to clean it up and use a cuff mandrel and rawhide or nylon hammer to form the cuff.
Optional: Once finished, you can drop your cuff in liver of Sulfur to oxidize it.
For a quick walk through to make an embellished cuff, check out this video from one of Halstead's employee studio classes.
Keep Learning:
Jewelry Making for Hobbyists
Shop thousands of high quality jewelry supplies at Halstead!
Shop Now
Halstead is proud to offer quality jewelry supplies, exceptional customer service, and resources. But don't take it from us, hear what customers are saying about Halstead!

