


This blog will talk about the various ways to finish and polish your jewelry. We’ll talk tumblers, bench-top polishers, and various attachments for your flex shaft.
Once you’ve made your beautiful piece of silver jewelry, it’s time to finish it and make it shine! Depending on your brand style, there’s a variety of finishes you can choose to provide a unique look for each piece. Let’s walk through each of the jewelry finishing styles and which jewelry tools to use to get there.
Types of Jewelry Finishes
-
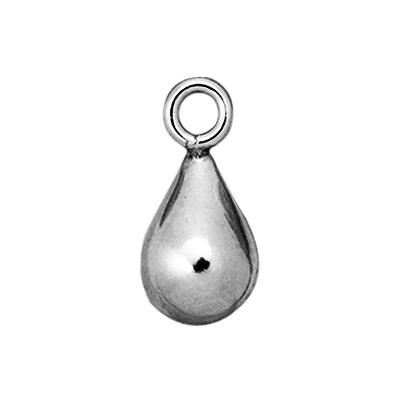
High Polish or Brite – This is the shiniest finish and is often mirror-like in its appearance. Although it’s the most common finish, getting to this level of shine takes a lot of steps and work to achieve it by hand. However, there are larger tools that can make the process faster and simpler. This is also one of the harder finishes to keep clean as it will show fingerprints, dirt, and tarnish more than the others.
-
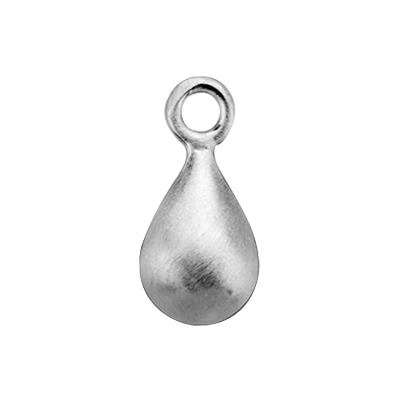
Satin or Matte – Used interchangeably, a satin finish is dully finished and has a diffused glow rather than a bright shine. This is a great option to provide a subtle finish to your piece. There’s also often a slight texture on the finish.
-
Brushed – A brushed finish has tiny wire-brushed marks on the surface and provides a small texture to the piece as well.
-
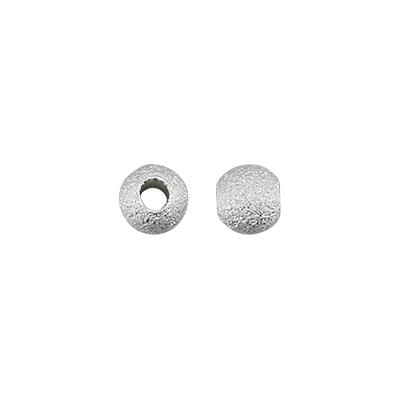
Stardust or Sandblast – This effect is grainy and sparkly with a heavy texture. Manufactured pieces will generally refer to this finish as stardust. But if you’re trying to create this texture in your studio, you’ll need a sandblasting machine to shoot an abrasive medium at your piece to create the dimpled surface.
- Oxidized – This is the intentional treatment of your silver jewelry surface to blacken the metal. We have a separate blog article on how to use liver of sulfur to achieve an antiqued look.

Jewelry Hand Finishing Tools
There are a variety of tools you can use to achieve each finish. From hand finishing with a series of abrasives to finishing off with a tabletop power tool, let’s break down the most common jewelry finishing tools.
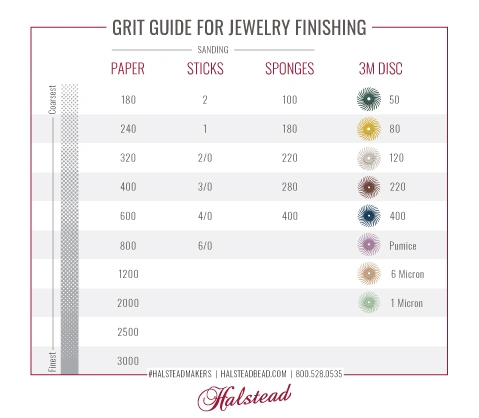
Sandpapers, files, and 3M discs require you to start with a coarser grit for cleaning then work your way down to a fine grit for polishing. The higher the grit number, the finer your grit. So, a 180 grit sandpaper is going to take away a lot of material and can be a great starting point. As you move into higher numbers and finer grits, the sandpaper takes away less material and will eventually leave you with a smooth and polished surface. The best technique tip for these tools is to work your grit layers in opposite directions until you see the marks from the previous pass fully sand away.
Sandpapers
Since sandpaper is available in the coarser grit options, it’s a popular starting point for finishing your jewelry. These coarse grits remove more material and make deeper scratches to buff out as you move through the grit series. You don’t need jewelry specific sandpaper, any sandpaper from your local hardware store will work. If you’d like to keep the dust in the air down, find sandpaper that can also be used wet (most can). Since sandpaper is the most flexible option, you can use it in many ways. Wrap it around a paint stick or other flat piece of wood and it’ll work just like a large file. Wrap it around a wooden dowel to sand down rounded areas. You can even try putting thin strips of sandpaper or polishing paper in your saw frame to get into tight places and pierced details.

Polishing Papers
A polishing paper is even finer than your finest sandpaper. They are measured in microns. The micron numbering system is the opposite of sandpaper, the higher the number, the coarser it is. Polishing papers are a great way to bring your jewelry piece back up to a high polish or remove patina to highlight certain areas without introducing new scratches.
Jewelry Files
There are a variety of jewelry files available and they’re all great for different reasons. Like sandpaper, files come in a variety of coarseness. The large and coarse files are used for initial cleaning and taking off a large amount of metal. They’re ideal for filing down solder joins to create a seamless look.
Smaller files are a good option for some detail work and getting into smaller spaces. They’re available in shapes- rounded, half round, angled, etc. These are great for filing and cleaning in shaped pieces, i.e. ring bands, or for making divots or textures in your piece.
Polishing Cloths
Your final finishing step should always be a quick swipe with a silver polishing cloth. In fact, you will likely need to maintain your inventory by using polishing cloths periodically to keep tarnish from developing. Customers also love these as a free gift with purchase. It gives you a chance to discuss care and cleaning for the jewelry you lovingly create.
Bench Top Jewelry Finishing Tools
As an alternative to hand finishing with files or sandpapers, these bench top power tools make finishing and polishing your jewelry quicker. They are more expensive than hand tools. But they are worth it if you are making a higher volume of jewelry and looking to be efficient with your time.
Flex Shaft Attachments
The flex shaft is an incredibly versatile tool to have on your bench. The variety of available attachments make it an invaluable tool to invest in. Let’s talk about some of the most common attachments used for jewelry finishing and polishing.
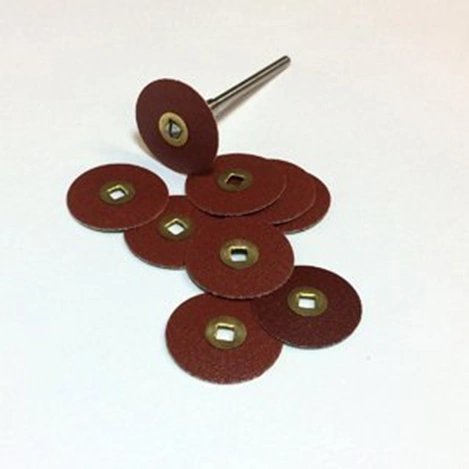
Sanding Discs
Sanding discs come in a variety of grits from coarse for removing a good amount of metal to extra fine and polishing grits. These are a great option as an aggressive abrasive! With a coarser grit and the high speeds of the flex shaft, you’re able to quickly sand down your piece or remove blemishes. The disc shape fits in many spaces and conforms to the surface curvature of your jewelry piece.
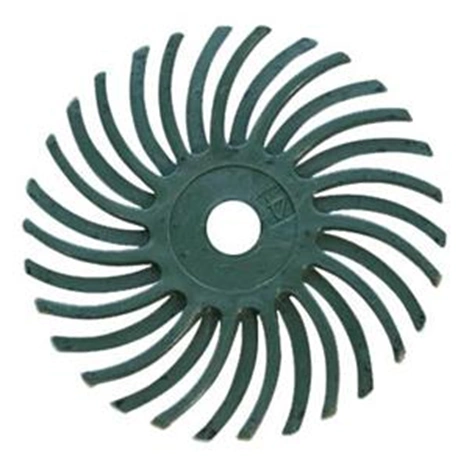
Radial Bristle Discs
Radial Bristle Discs are stacked 3-5 on the flex shaft mandrel and also come in a variety of abrasive levels – all the way down to 1 micron. These are one of our favorites for cleaning and polishing after soldering when we don’t want to take too much metal off. The bristles are even better at reaching difficult spaces and angles.
Felt Bobs
These felt wheels are used for polishing and are used with polishing compounds. Since they are meant for polishing, they are generally gentle on your jewelry piece.
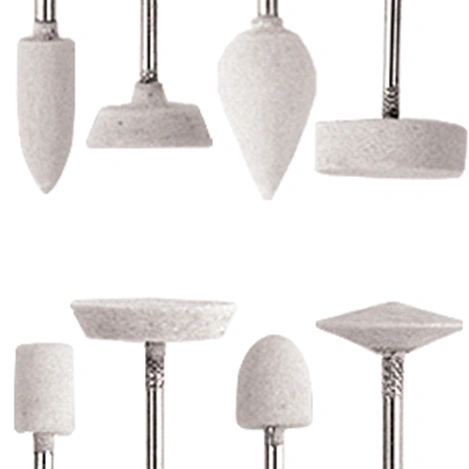
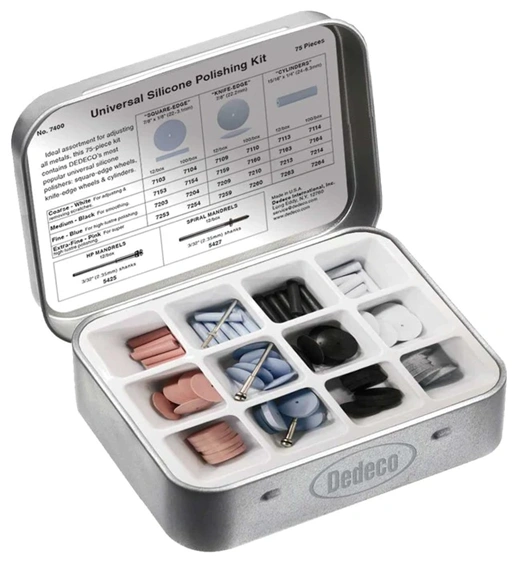
Silicone Wheels
Silicone wheels are an alternative to radial bristle discs and come in a range of grits from coarse to high polish. They are also available in different shapes and sizes that allow you to get into tight spaces or create flat edges.
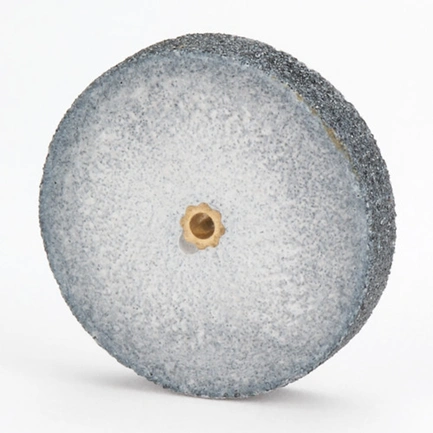
Heatless Wheels
Sometimes referred to as ‘mizzy wheels,’ these heatless silicone carbide wheels are VERY aggressive and take away a lot of material quickly. They’re excellent for removing sprues from casting.
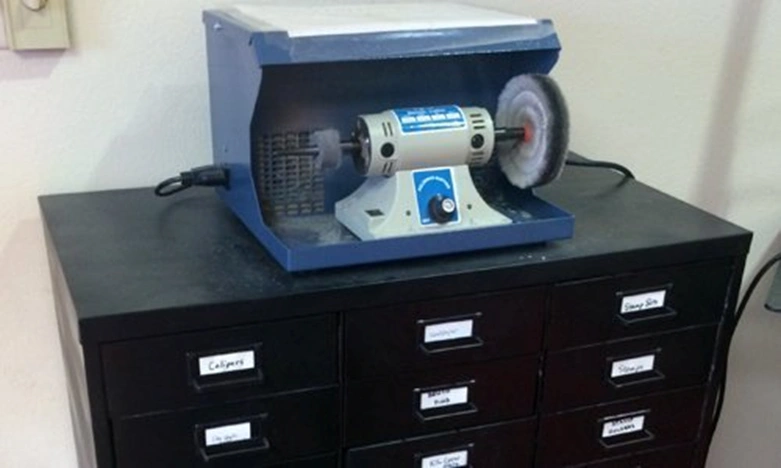
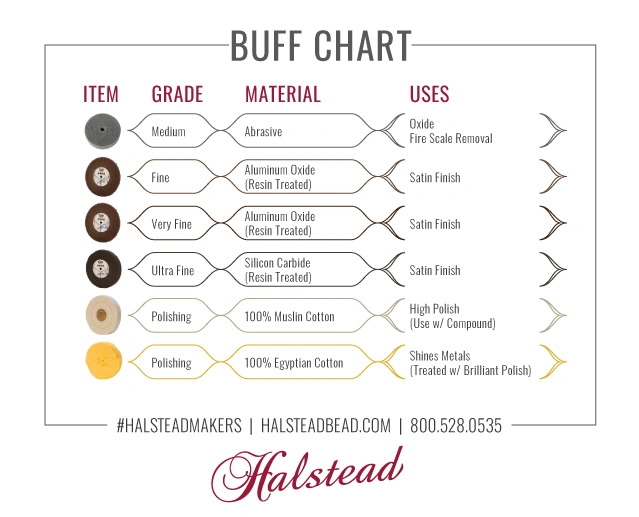
Bench Top Polisher
Having a bench top polisher can expedite certain polishing processes and produce one of the best mirror polishes out there. These polishers typically have two spindles to attach wheels to swap out for different sanding and polishing needs. These buff wheels range from high abrasives to quickly take off a lot of metal down to a rough satin finish or a soft high polish. For a muslin or cotton buff wheel, you will need to use a polishing compound, such as Zip, rouge, or Tripoli to bring your piece to a high polish.
Safety Tips
The bench top polisher spins at 1000s of RPM so safety is an important topic if you choose to use one. If possible, have ventilation hooked up directly to your machine to catch metal or compound dust. Whether you have direct ventilation or not though, it’s always a good idea to wear safety glasses and a mask in case any pieces catch on the wheels and fly out. Also be sure to secure any loose items on yourself: long hair should be tied back, clothing strings should be tucked in, and dangling jewelry should be taken off.
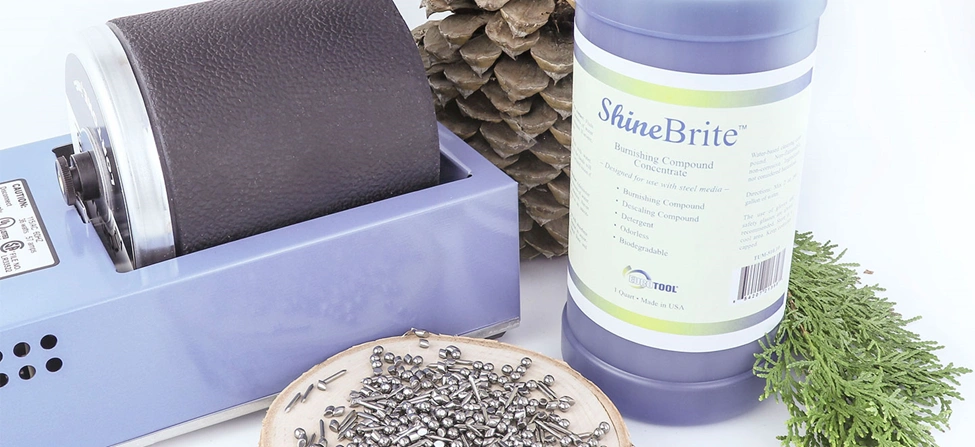
Jewelry Tumbler
A jewelry tumbler is a valuable and versatile tool for your studio. It consists of a spinning barrel with an abrasive medium and water that you can toss your jewelry in for as long as desired. The mediums range from ceramics that create a high abrasive environment to steel shot that creates a polished and shiny surface. Steel shot is the one of the most common options and not only does it polish your piece, but it will work harden the piece as well. You may want to add a burnishing compound, or even just dish soap, into your tumbler to create extra shine.
Which Jewelry Finishing Tool Should I Use?
The decision on which tools to use is going to come down to personal preference, available space, and budget. Some jewelers enjoy the finishing time and love to hand sand and file every piece. Sandpapers and files are also the most budget friendly if you’re just starting. The flex shaft is one of the most versatile tools for not only finishing and polishing, but also a number of other jewelry making applications. It’s one of our favorites in the Halstead Studio. If you are working at a production level or have the space and budget, bench top tools are great options to make quick work of finishing your pieces
Check out these demos on using the bench polisher and jewelry tumbler.
Further Reading
What is a Flex Shaft? – Why Jeweler’s Can’t Work Without This Tool

