


Having the skills to size rings can be very handy for your jewelry studio business, especially if you don't have the right size for a customer in stock. Learn sizing to capture more sales and offer superior service to your clients.
Ring sizing skills can be very handy for your business and your customers. If you don't have the right size for a customer at a show, you can offer ring sizing to make sure you get the sale. Or, you can offer sizing as a general repair service for your studio.
Tip: Sizing rings can be a very handy skill to learn, however, the trick is to know when it's something you can or can't do with your present skill sets.
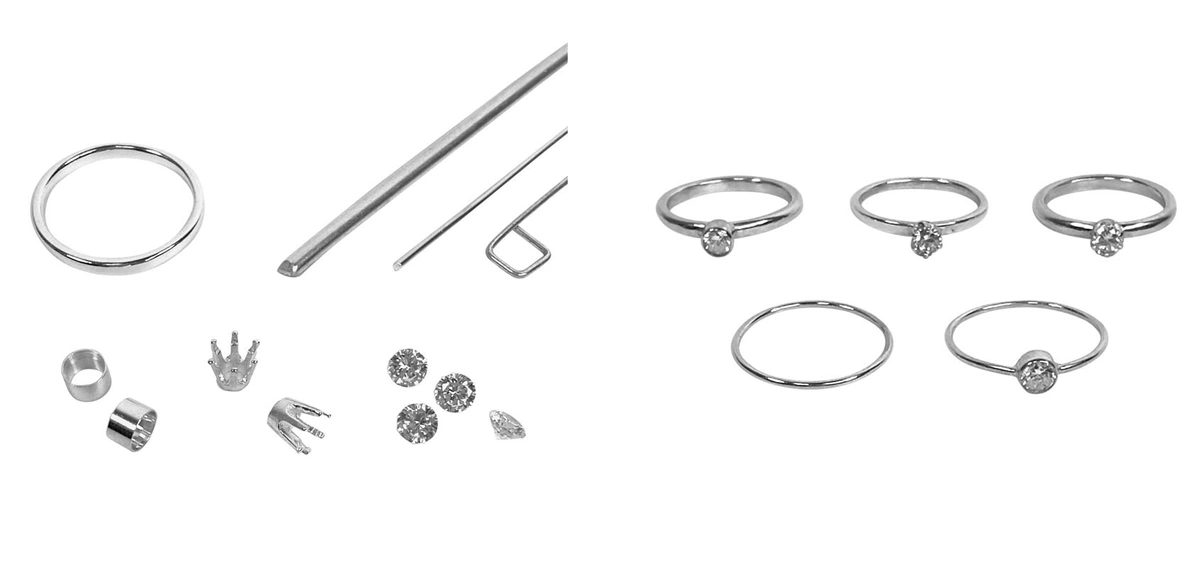
There are a lot of problems that can arise when you size up rings. Simple bands are the easiest. When you get into bands that have patterns or stone settings, the work becomes a little harder and there are some you just can't do. When sizing a finger ring band, you can generally move it two sizes larger when stretching it. However, it has to have a really good solder join before attempting this. If it doesn't, plan to split the seam, add some metal, re-solder and then finish it. SHOP RING BANDS >>
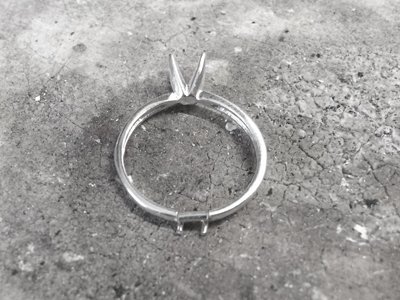
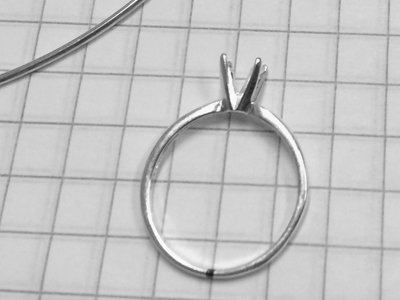
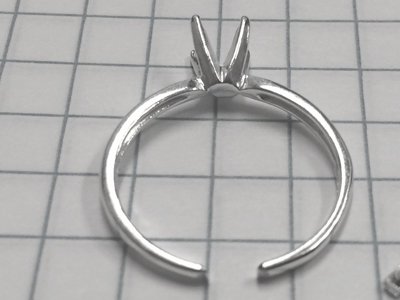
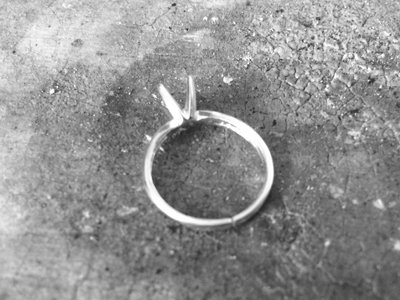
Rings with settings entail more consideration. You need to think about the setting and whether it can be stretched, soldered, or better left untouched altogether. If you are sizing the ring up, stretching it will most likely distort the setting and loosen the stone. Sometimes you can adjust by reshaping it slightly. Paved or gypsy settings cannot be stretched with a tool. You may be able to shank the band and solder an insert instead. And it's impossible to resize a ring with flush settings. Also, can the stone take the heat of a torch or do you need to remove it? How easy is that to do? Do your research and proceed with caution.
Before you start sizing rings up or down, it's good to be familiar with sizing in general and creating your own rings. Try Halstead's ring making kit to get started and practice! Once you've made a few rings, you can always use the tips and instructions in this blog to size up or down before you do so for clients.
Jump ahead in the article with these quick links:
How to Size a Ring Up
Stretching to Size a Ring
When you resize a ring it stretches the metal creating a wider band, but the downside is thinner metal. This is a highly recommended way to resize a ring band. Be sure that the gauge is thick enough, it is within the two size limit and that any solder join is strong.
Tip: When practicing with new tools or learning new skills, I like using copper or brass material before moving onto sterling silver. I definitely encourage practice runs with the tools I'm going to show you in this post.
Rathburn Ring Stretcher
The Rathburn ring stretcher is small, lightweight and easy to carry on the road. Perfect for shows, when you need to resize a ring for a customer. It comes packaged in three parts that fit nicely together, to keep it compact. All you need is a hammer to tap the top, which in turn stretches the ring. The ring stretcher fits rings ranging from size 7 to 10 (size 6 may work but you'll really need to squeeze the ring on there).
Steel Ring Mandrel
The basic steel ring mandrel is a ring sizing staple. It's made from hardened tool steel, easy to hold in your hand and only requires a rawhide hammer to resize rings. Sizes range from 1 to 15, so the ring size coverage is great. The downside is that it can be awkward in your hand, especially when you're just starting out and stretching a ring with a mandrel takes more time and effort than with a ring stretcher.
Ring Sizing by Torch
If your ring band has settings and stones on it, you may want to resize it by soldering. If the stones can't take the heat, remove them from the settings before working on the band.
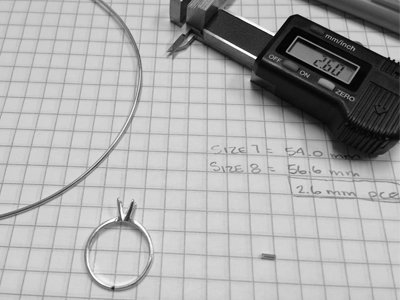
Step 1: Find the center of the band (graph paper works well).
Step 2: Mark the center line at the bottom of the band.
Step 3: Using the chart above, figure out the amount of metal you will need to add to the band.
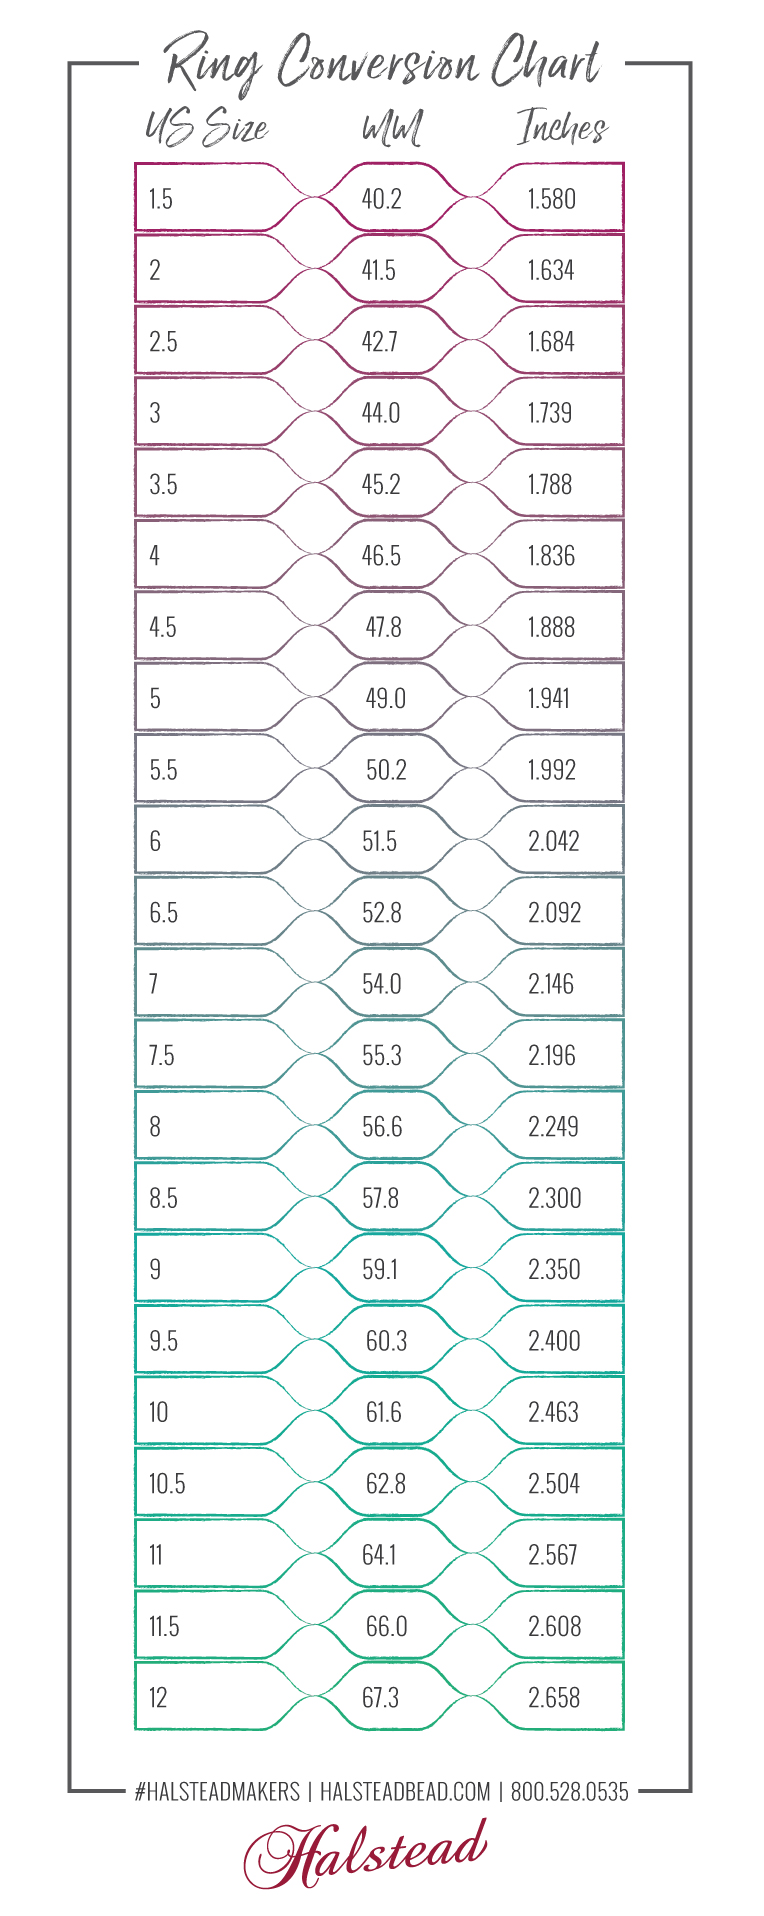
For this example, I want to go from a size 7 up to a size 8. I take the difference between 54mm and 56.6mm, so I need to add 2.6mm of metal - usually jewelry wire. Find a metal wire segment or use a scrap piece of sheet to add to your band. It's okay if it's a thicker gauge piece, you can file it down later. But, be sure to add a piece that's the right length.
Step 4: Cut the band in half with a jewelers saw.

Step 5: Separate the two sides of the ring band either by hand or on a ring mandrel.
Step 6: File all the ends of the metal pieces.
Step 7: Slide the new piece of metal into the band, checking that it is a tight fit.
Step 8: Place a piece of soft solder under each join then flux, solder and quench.
Step 9: Finish the piece completely before moving on to the final step.
Step 10: Reset the stones.
Tip: Be sure to check for any markings on the band before working with it. You will need to re-stamp any metal marks or special notes, or tell the customer they may lose those markings.
How to Size a Ring Down
Sizing a ring up, in my opinion, is much easier than sizing a finger ring down. You have ring stretchers that allow you to get the job done quickly, but there are not that many jewelry making tools available for reducing the size of a ring. The skills to be able to size a ring is important to know if you sell a lot of finger rings plus it keeps the customer coming back to see you when they need work done on a piece. SHOP WHOLESALE RINGS >>
Tip: Repair skills can bring you lifelong, happy customers, but make sure you only take on jobs you are comfortable with.
When sizing a ring down there are two available options that depend on the type of ring. First, reducing techniques can compress a uniform band into a smaller size. Second, more complicated ring designs with settings, engravings or patterns will need to be cut and soldered.
Reducing Ring Sizes
If you work with plain bands, then the ring reducer is a great tool to have. It is large, heavy, and it needs a dedicated spot in your jewelry studio. But since it is a ring stretcher and reducer in one, it is invaluable when working with finger ring bands. This ring stretcher and reducer is easy to use. Watch the video above for a quick demonstration. Take care to size bands before stamping or engraving so you don't distort markings. Rings can be reduced by about one full size using this technique.
Cutting and Soldering Rings
If you're sizing a ring down that has an embellishment such as a setting, then the ring reducer won't work and you'll need to cut and solder instead. First, see if the stone can withstand heat. If not, you'll need to remove it. Once removed, can you set it again? Certain settings such as gypsy and paved settings cannot be sized up or down because they can't be distorted in any way. With flush settings, you can't reset the stones once the ring is reshaped. Reducing a ring requires you to remove a piece of metal from it, bring the ends together, solder it and reshape it. At that point, some settings will not have their original shape anymore. Some rings cannot be sized down without sustaining damage and it is better to turn the job down.
If this is a ring for a customer, you need to return it to them in the same shape or better shape than when you received it.
If the stones can't take the torch heat, remove them from the settings before soldering. Do not resize a ring more than two sizes or it can really lose its original shape.
Step 1: Find the center of the band.
Step 2: Mark the centerline at the bottom of the band.
Step 3: Using the chart above, figure out the amount of metal you will need to remove from the band.
For this example, I want to go from a size 8 down to a size 7 so I need to remove 2.6mm of metal. From the centerline, remove 1.3mm from each side of that line. This will keep your ring balanced, rather than just randomly cutting from anywhere on the band.
Step 4: File the two ends of the metal pieces so you can get a flush join for soldering.
Step 5. Bring the two ends together, checking that it is a tight fit.
Step 6: Place a piece of medium solder under the join then flux, solder and quench.
Step 7: Finishing.
Be sure to check for any markings on the band before working with it. You will need to re-stamp any metal marks or special notes on the band, or at least explain to the customer if you're unable to.
Keep Reading!
Shop now for sterling silver rings or gold filled rings at Halstead!
Got questions? Email our studio coordinator at [email protected]. We'd love to hear from you. Sorry, studio support is not available by phone. Emails only, please.

