


Curious about silver clay? Read on for the best ways to integrate metal clay into your silversmithing. We’ll cover best practices, tips, tricks, and more.
New to metal clay? Don’t worry! In this blog we’ll explain what metal clay is, some of the best ways to use it, and more. As a metalsmith, introducing silver clay into your work can be a huge time saver and allow you to achieve a wider range of designs. We’ll also discuss tips and tricks for working with the material.
What is Metal Clay?
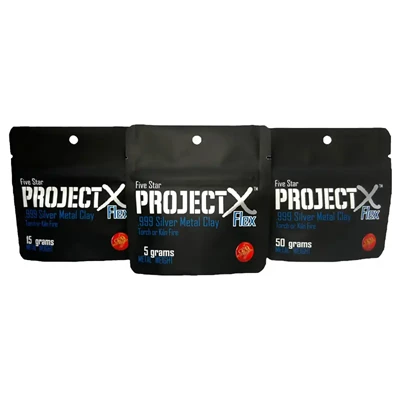
Metal clay is a clay-like material that, once fired in a kiln or by torch, becomes solid metal. It is made out of fine metal powder mixed with binder and other materials to give you the feeling and workability of clay when unfired. Once fired, you’re left with solid metal! You can find metal clay in a variety of materials, including:
- Sterling silver
- Fine Silver
- 960 Silver
- Bronze (varying alloys/colors)
- Copper
Metal Clay Tools
Getting started with silver clay, or any metal clay, is really easy! There are only a few tools you need to get started, and you may already have a few of them in your studio. SHOP JEWELERS TOOLS >>>
- Metal Clay Firing Brick – this is what you’ll fire your dried clay on to turn it into metal. It’s important you buy a metal clay specific brick, as they’re made out of a different material than your soldering surfaces
- Non-Stick Worksurface – this Teflon mat is the perfect surface on which to work with your silver clay. It’s not-stick and cleans easily. Perfect for rolling out your clay and more
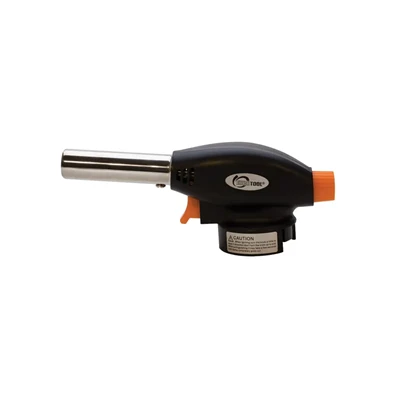
- Jewelers Torch – A torch is the minimum you need to fire your metal clay. A handheld butane torch is plenty
Helpful Tools
These tools aren’t critical to have, but will definitely make your metal clay experience easier!
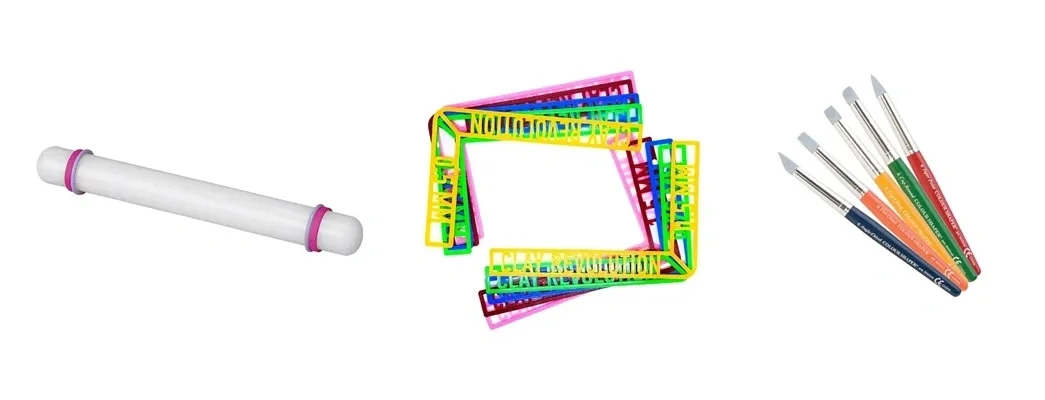
- Clay Roller – helps condition your clay right out of the package and is for rolling the clay flat
- Adjustable Rolling Gauges – for rolling clay to consistent thicknesses
- Rehydration Fluid – for rehydrating clay if it becomes dried out
- Liberation Spray – a lubricant for molds and texture mats that allows your metal clay to release clean
- Sanding Tools – sanding sticks and files are great for cleaning up your dried clay before you fire it for less work later
- Awls, Punches, and More – there are a variety of tools out there that help you shape and form your clay. I’m sure there are many tools you already have in your studio that can achieve many of the same outcomes.
Integrating Silver Clay with your Metalwork
These days, it’s really easy to integrate silver clay with your metal designs! It’s best used for limited components – add metal clay elements to your designs instead of making the entire piece out of clay. Below I’ve outlined a few ways to use metal clay to its fullest.
- Multiples – because metal clay is so easy to use with a mold, it’s great for making multiples. Purchase a pre-made mold or create your own.
- 3D Designs – metal clay can be a great alternative to wax carving and casting for making 3d elements. In many cases, it's even less expensive than casting when you consider shipping and casting fees.
- Realism – because of its soft nature, metal clay rolls onto texture mats really easily for pictorial textures. Imagery like animals, plans, hearts, and more may be difficult to get onto metal with out etching or engraving. Due to it's clay-like nature pre-fired, you can also sculpt with it; creating your own elements.
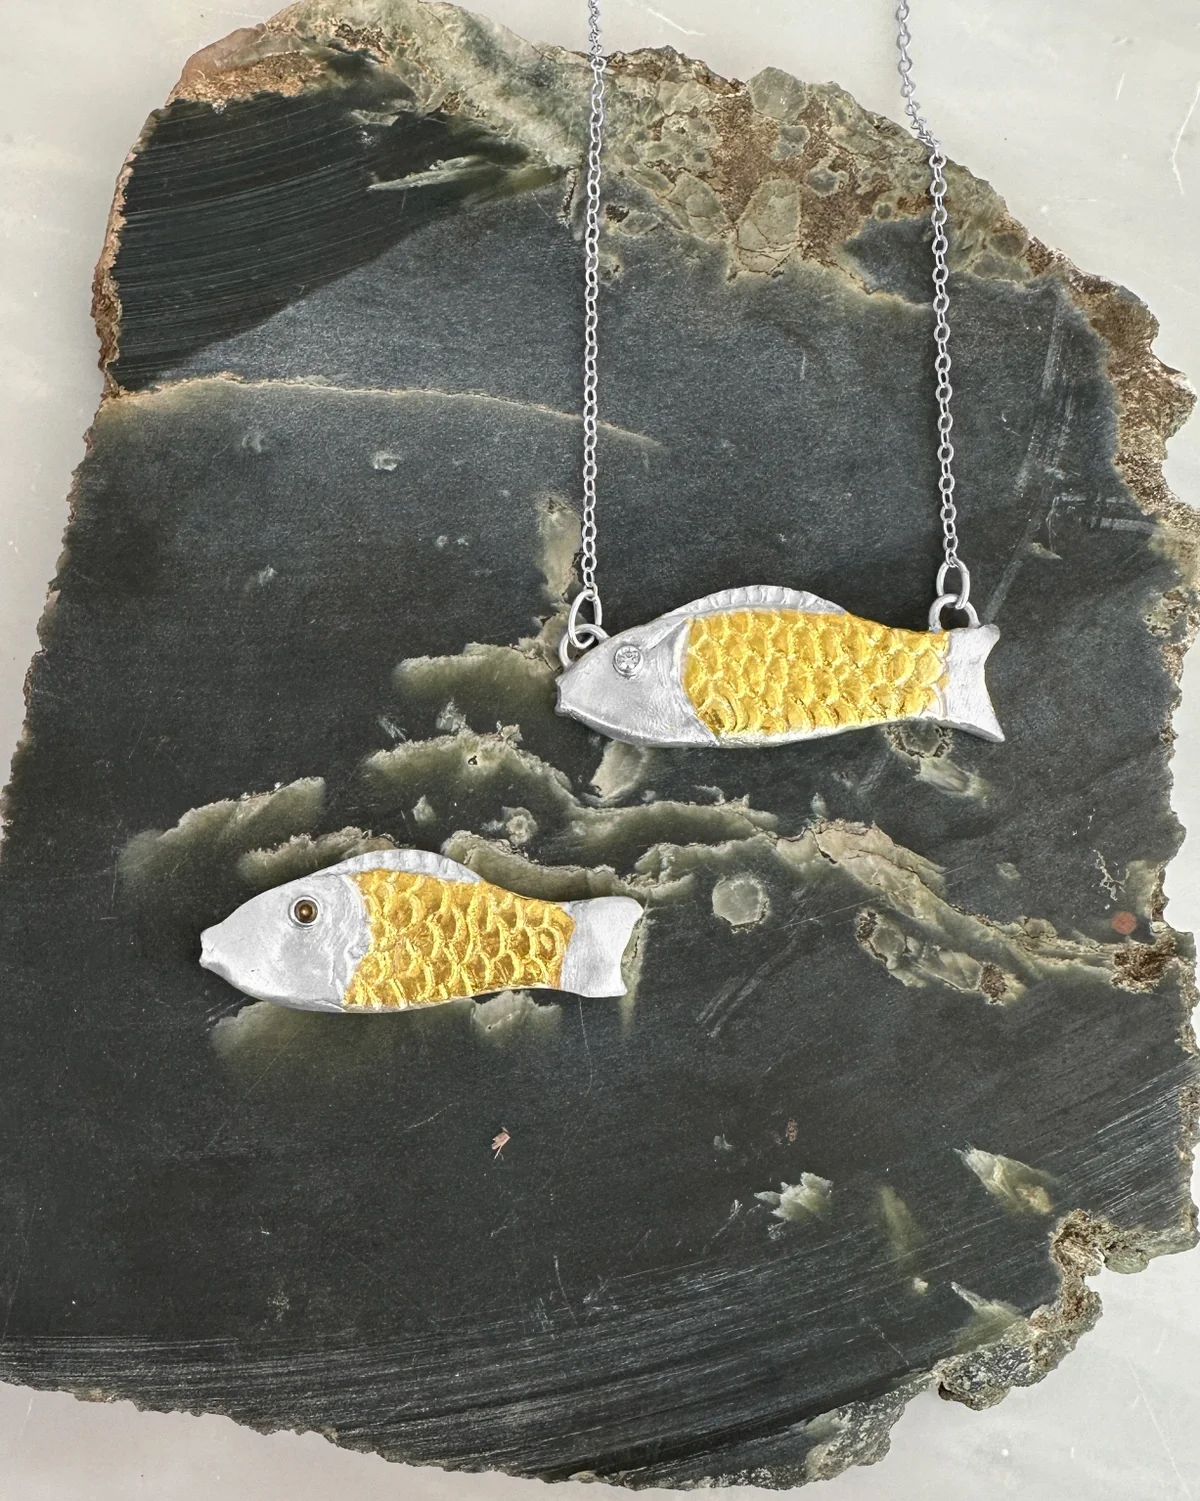
- Keum Boo - keum boo, or 24k gold foil that gets fused to silver, its so easy to incorporate with fine silver metal clay. When working with sterling silver, you first need to raise the fine silver to the surface - no need when working with 999 metal clay! It works best when fused directly after firing (no finishing work has been done). Check out the metal clay fish below to see keum boo incorporated! SHOP KEUM BOO FOIL >>>
Working with Silver Clay
In this section we’re going to talk about some tips, tricks, and things to remember while working with metal clay.
Shrinkage
Metal clay does shrink in the firing process. It’s important to keep this in mind when creating your design. It’s best to fabricate things like bezels that need precise sizing, as metal clay doesn’t always shrink at the exact same rate each time
Soldering
Yes! You can solder things to your silver clay! Some clays are better than others for this. ProjectX clays are very dense, meaning they’re easier to solder. Burnish the area you’d like to solder to help close up pores and create a smooth surface
Embeddables
You can embed a lot of things in your wet clay before you fire it! This can be great for saving time and frustration on tiny solder jobs.
- Jump rings – you can embed jump rings or eyelets into your clay before firing. This allows you to just connect and go once your piece is fired! Look for specific metal clay embeddable items
- Tube settings – your favorite tube settings from Halstead can be embedded in your silver clay! If you are kiln firing with sterling silver embeddables, like our tube settings or jump rings, remember to anneal them before setting or manipulating. They can become brittle under the prolonged heat of a kiln. Torch firing this is not an issue
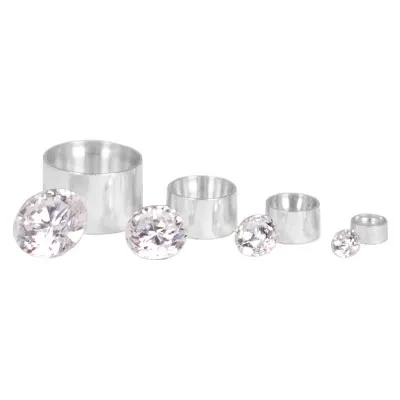
- CZs – you can place CZs right into the clay before firing! This works best with clear CZs, as some colors, like blue, may discolor under the heat. Be careful if torch firing to not overheat the CZs and turn them cloudy.
For more information on working with metal clay, as well as classes and tutorials, check out Clay Revolution! They're a great resource for specialty tools and learning.

