


Interested in ready-made stone settings? We cover a wide range of pre-made jewelry settings and tools in this guide, which also include hints and favorite new tools.
Here at Halstead, we carry pre-made jewelry settings for calibrated stones and cabochons. If you're interested in setting your own cabochons, we also have a line of bezel and gallery wires. Below is a guide to the types of settings we carry and common tools you'll use when setting stones.
Calibrated Jewelry Stone Settings

Snap in Settings
Quick and easy to use, a snap-in setting sets a calibrated stone in place by nesting it inside a group of prongs. The girdle of the stone sits on the seat located near the top of the prong.
Tip: Place the stone upside-down on a soft mat, then line the snap-in setting over the top of it and press gently down until you hear a "snap," which signifies the stone is tightly in place. Using this method protects the table of the stone from scratches and chips.
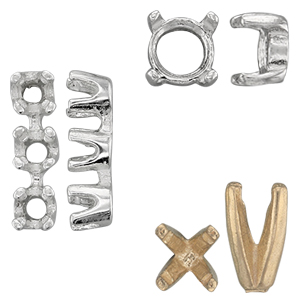
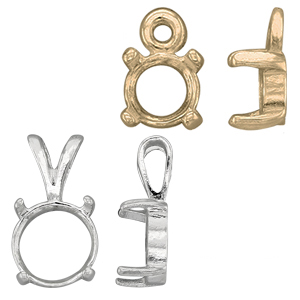
Prong Settings:
Prong settings are perfect for calibrated stones. These come pre-notched, allowing the girdle of the stone to rest inside the notches for the perfect height. After the stone is flush, fold the prongs over to hold it securely in place. Use prong pushers, gemstone setting pliers or the Easy Mount gemsetting tool to accomplish this. These setting tools are listed at the bottom of the page.
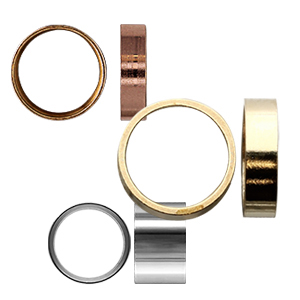
Tube Settings:
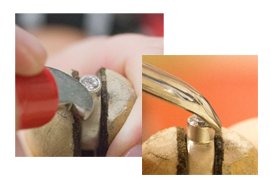
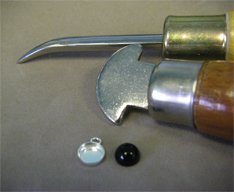
Even though a ready-made tube setting is more challenging than the two shown above, it offers more choices in design. Tube settings must be soldered onto metal sheet or another surface. Our tube settings have a pre-cut seat on the inside surface that provides a place for the girdle of the calibrated stone to rest. To use: Place the stone in the tube, double-check that the girdle is flat on the seat, then close-in the walls by using a bezel roller. Use a burnisher to smooth down the walls. Please be aware that an uneven stone can be damaged when closing-in the sides around the stone.
Tip: You can also use a tube bezel setting tool to quickly and easily set a stone. This protects the stone and metal from scratches that can be caused by the bezel roller and burnisher tools
Cabochon Jewelry Settings
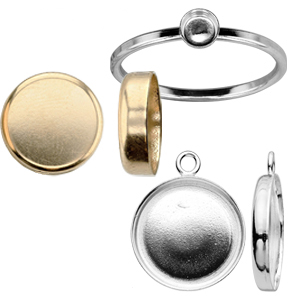
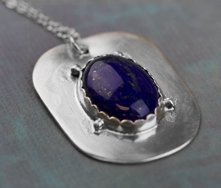
Bezel Cups:
Pre-made cabochon jewelry settings can save you a lot of time in the studio. The hardest part of using these settings is finding one that is the right fit because cabochon stones vary greatly in size and shape. You may need to use your flex shaft or files to shape your cabs for a good fit. After placing the cabochon in the setting, use a bezel roller and burnisher to secure it in place.
Bezel setting pendant blanks are larger bezel cups with an attached ring for jewelry assembly. These settings are frequently used for resin jewelry making with found objects such as photos, paper art, dried flowers, micro-mosaic, and glitter.
Tip: Place your finger or a piece of tape over the stone and the metal to protect it from these tools which can slip easily, scratching your piece. It is also helpful to file down and round the ends of the burnishers to remove the sharp tips.
Cabochon Prong Settings:
Prong settings are simple and easy to use! Place the cabochon between the prongs and then fold the prongs over to set the cab in place. There are a few tools you can use to fold the prongs over: gemstone setting pliers, prong pushers or the Easy Mount gemsetting pliers. Find all of these jewelry setting tools listed below.
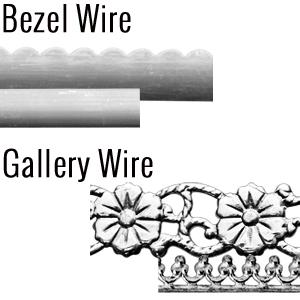
Bezel Wire:
Though you need to do a lot of work to prepare these for stones, these wires come in different widths so you can order what you need. The difference between the two are: Our bezel wire is plain strips of fine silver and the gallery (a.k.a fancy) wire comes in decorated strips. If you aren't familiar with cabochon setting, please refer to our blog: Granular Cabochon Pendant Tutorial.
Tip: Matching the ends on gallery wire takes time and patience, but the key is to start with a long length of wire. Work on lining it up before you cut the wire so that the patterns match perfectly. Be prepared to have more scrap than you normally would with plain bezel wire.
Types of Bezel Setting Tools
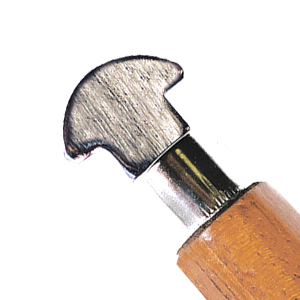
Bezel Roller: Use this tool to press the bezel walls around the stone. Work by rolling it side to side while pushing the wall toward the stone. Hold it steady so it doesn't slip and damage your piece.
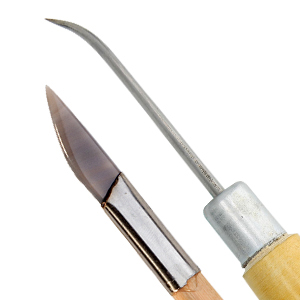
Burnisher: After using the bezel roller, use a burnisher to smooth down the sides and brighten the walls around the stone. Our agate burnisher will not scratch stones like a steel-tipped one can.
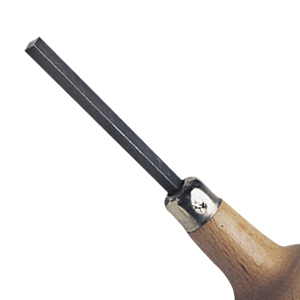
Prong Pusher: When setting a stone using prongs, the prong pusher tool pushes and bends the prongs securely against the stone for a tight fit.
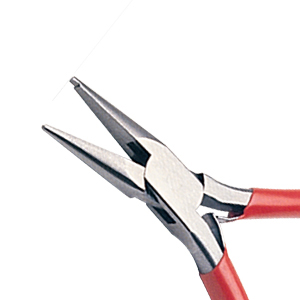
Prong Opening Pliers: These pliers are handy when removing or adjusting stones. While the lower jaw holds onto the metal, the upper jaw grips the prong and forces it to open without damaging the stone.
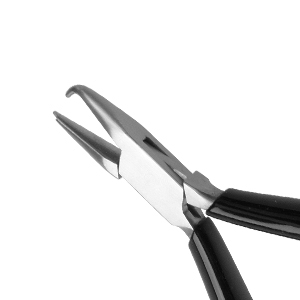
Gemstone Setting Pliers: After placing the stone in-between the prongs, use this tool to bend the prongs carefully into place around the gemstone.
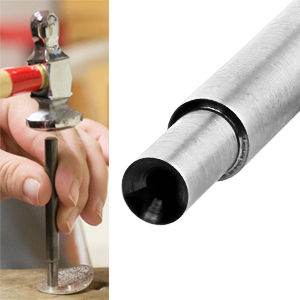
Tube Bezel Setting Tools: Quickly set your gemstones using our new bezel tube setting tools. Simply place your stone in the tube, make sure it is flush, then place the tool squarely on top and hit it with a hammer and it's set. No more bezel rollers and burnishers, plus, it won't damage your stones. It's definitely our favorite new tool!
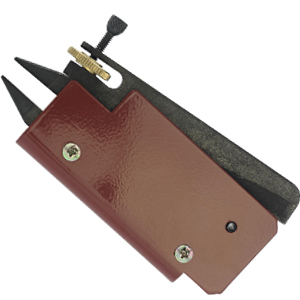
Easy Mount Gemsetting Pliers: Made to close prongs using a parallel motion, ensuring control of the jaws with little strength needed. The jaws only move 1mm at a time which protects the stone from damage.
Watch this video for more information on jewelry settings.
Halstead is one of North America's leading distributors of quality jewelry supplies. Halstead specializes in wholesale findings such as ready-made stone settings, chain, tools and metals for jewelry artists.
Got questions? Email our studio coordinator at [email protected]. We'd love to hear from you. Sorry, studio support is not available by phone. Emails only, please.
Like this Guide? Keep Reading:
Types Of Jewelry Chain Link Styles

