


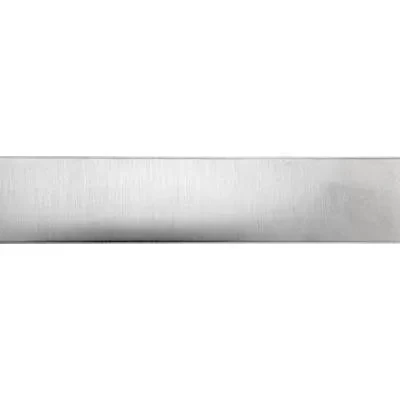
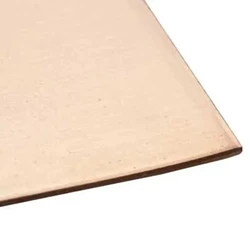
Sterling Silver 24 gauge 1x6 inch Sheet Metal
SWS24-1
Sterling Silver 1x6 inch 24ga .020" Dead Soft Sheet Metal
Sterling Silver 24 gauge 1x6 inch Sheet Metal
SWS24-1
Sterling Silver 1x6 inch 24ga .020" Dead Soft Sheet Metal
Total:

Loading Pricing...
Specs
| Material | Sterling Silver |
| Recycled Detail | 100% Post-Consumer Recycled Silver |
| Nation of Origin | United States |
| Finish | Bright |
| Manufacturing Method | Machine Made |
| Anti Tarnish | No |
| Tariff | 7113.11.5000 |
| Gram Weight | 20.47 |
Description
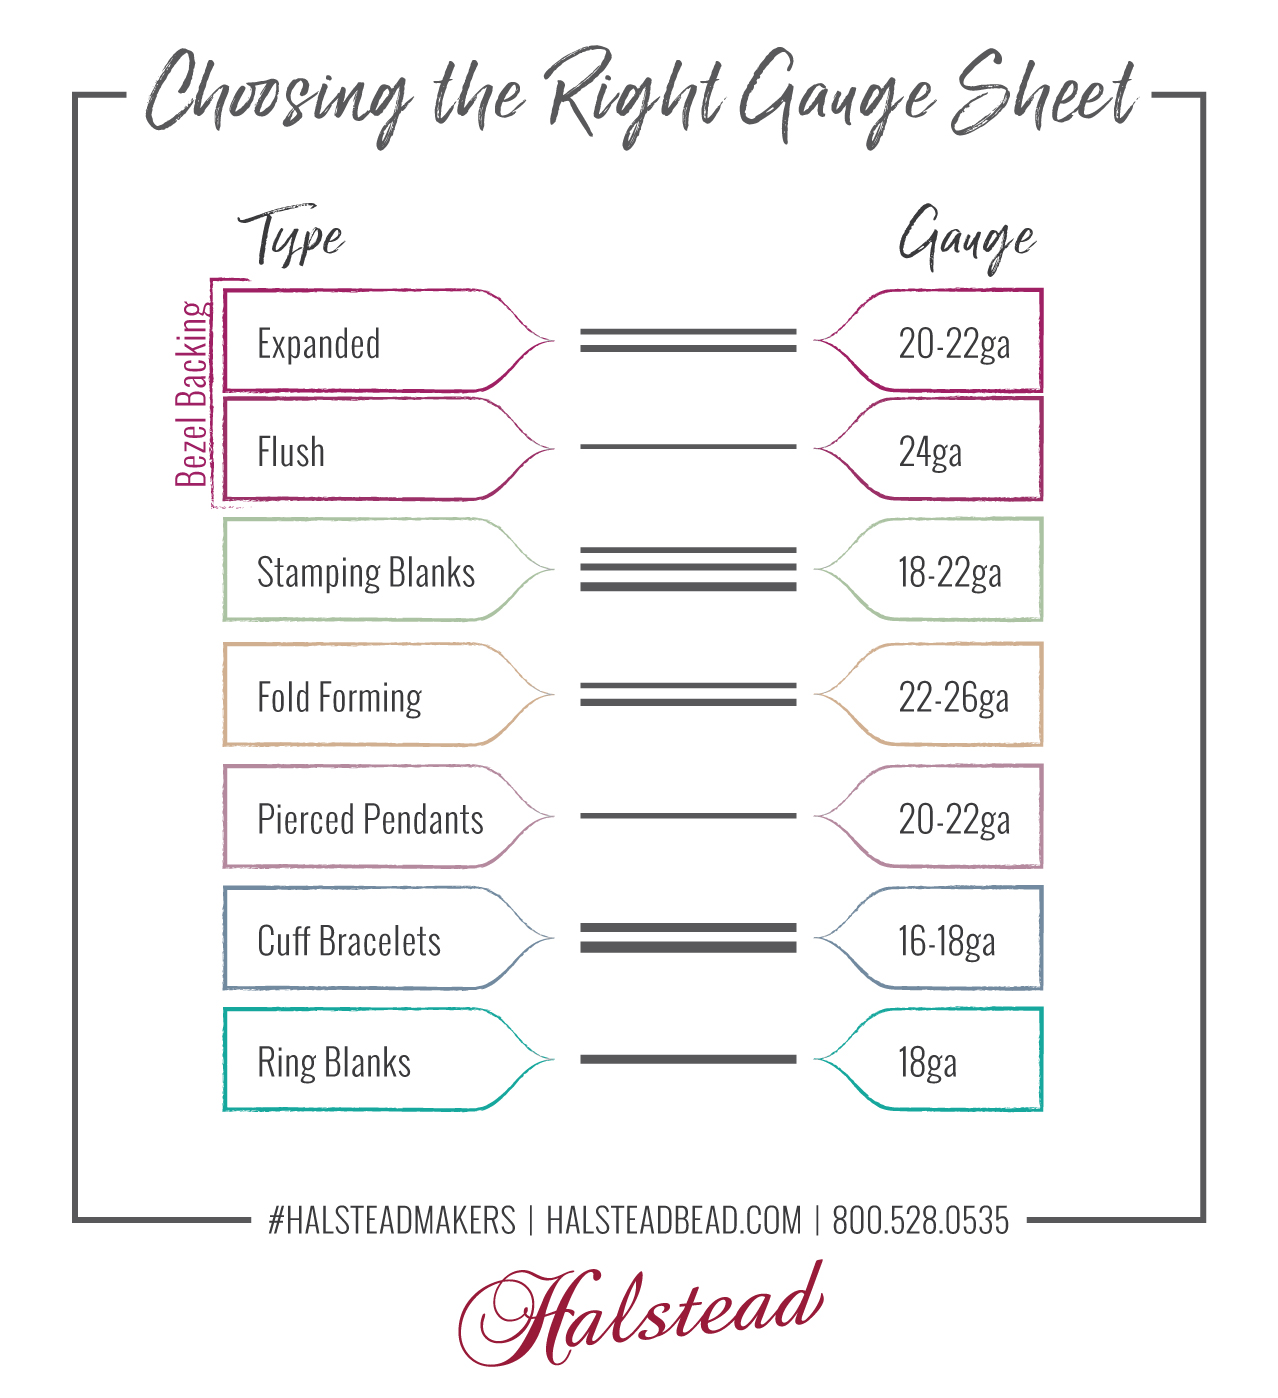
Achieve precision and quality in your jewelry designs with our sterling silver sheet, available in multiple gauges and sizes to suit your needs. Silver sheet is ideal for piercing, forming, soldering, and fabricating custom jewelry components. Shop our selection of silversmithing essentials on our jewelry making tools page.
Each sheet is pre-cut for convenience, allowing you to order the exact dimensions you need—minimizing waste and maximizing efficiency in your studio. Sterling silver’s workability makes it a top choice for professional jewelers and metalsmiths. Available in various gauges for different jewelry applications.
Notes: Raw, unfinished surface—may require filing, sanding, buffing, or polishing for a final finish. Sizing Tolerance plus or minus 1/16 inch
Detailed Specs
| Sheet | |
| Sheet Metal Gauge | 24 gauge |
| Sheet Metal Dimensions | 1x6 inch |
Media
Other Options in This Style
Compatible With
×
![]()
